By Jim Shingler | December 7, 2019
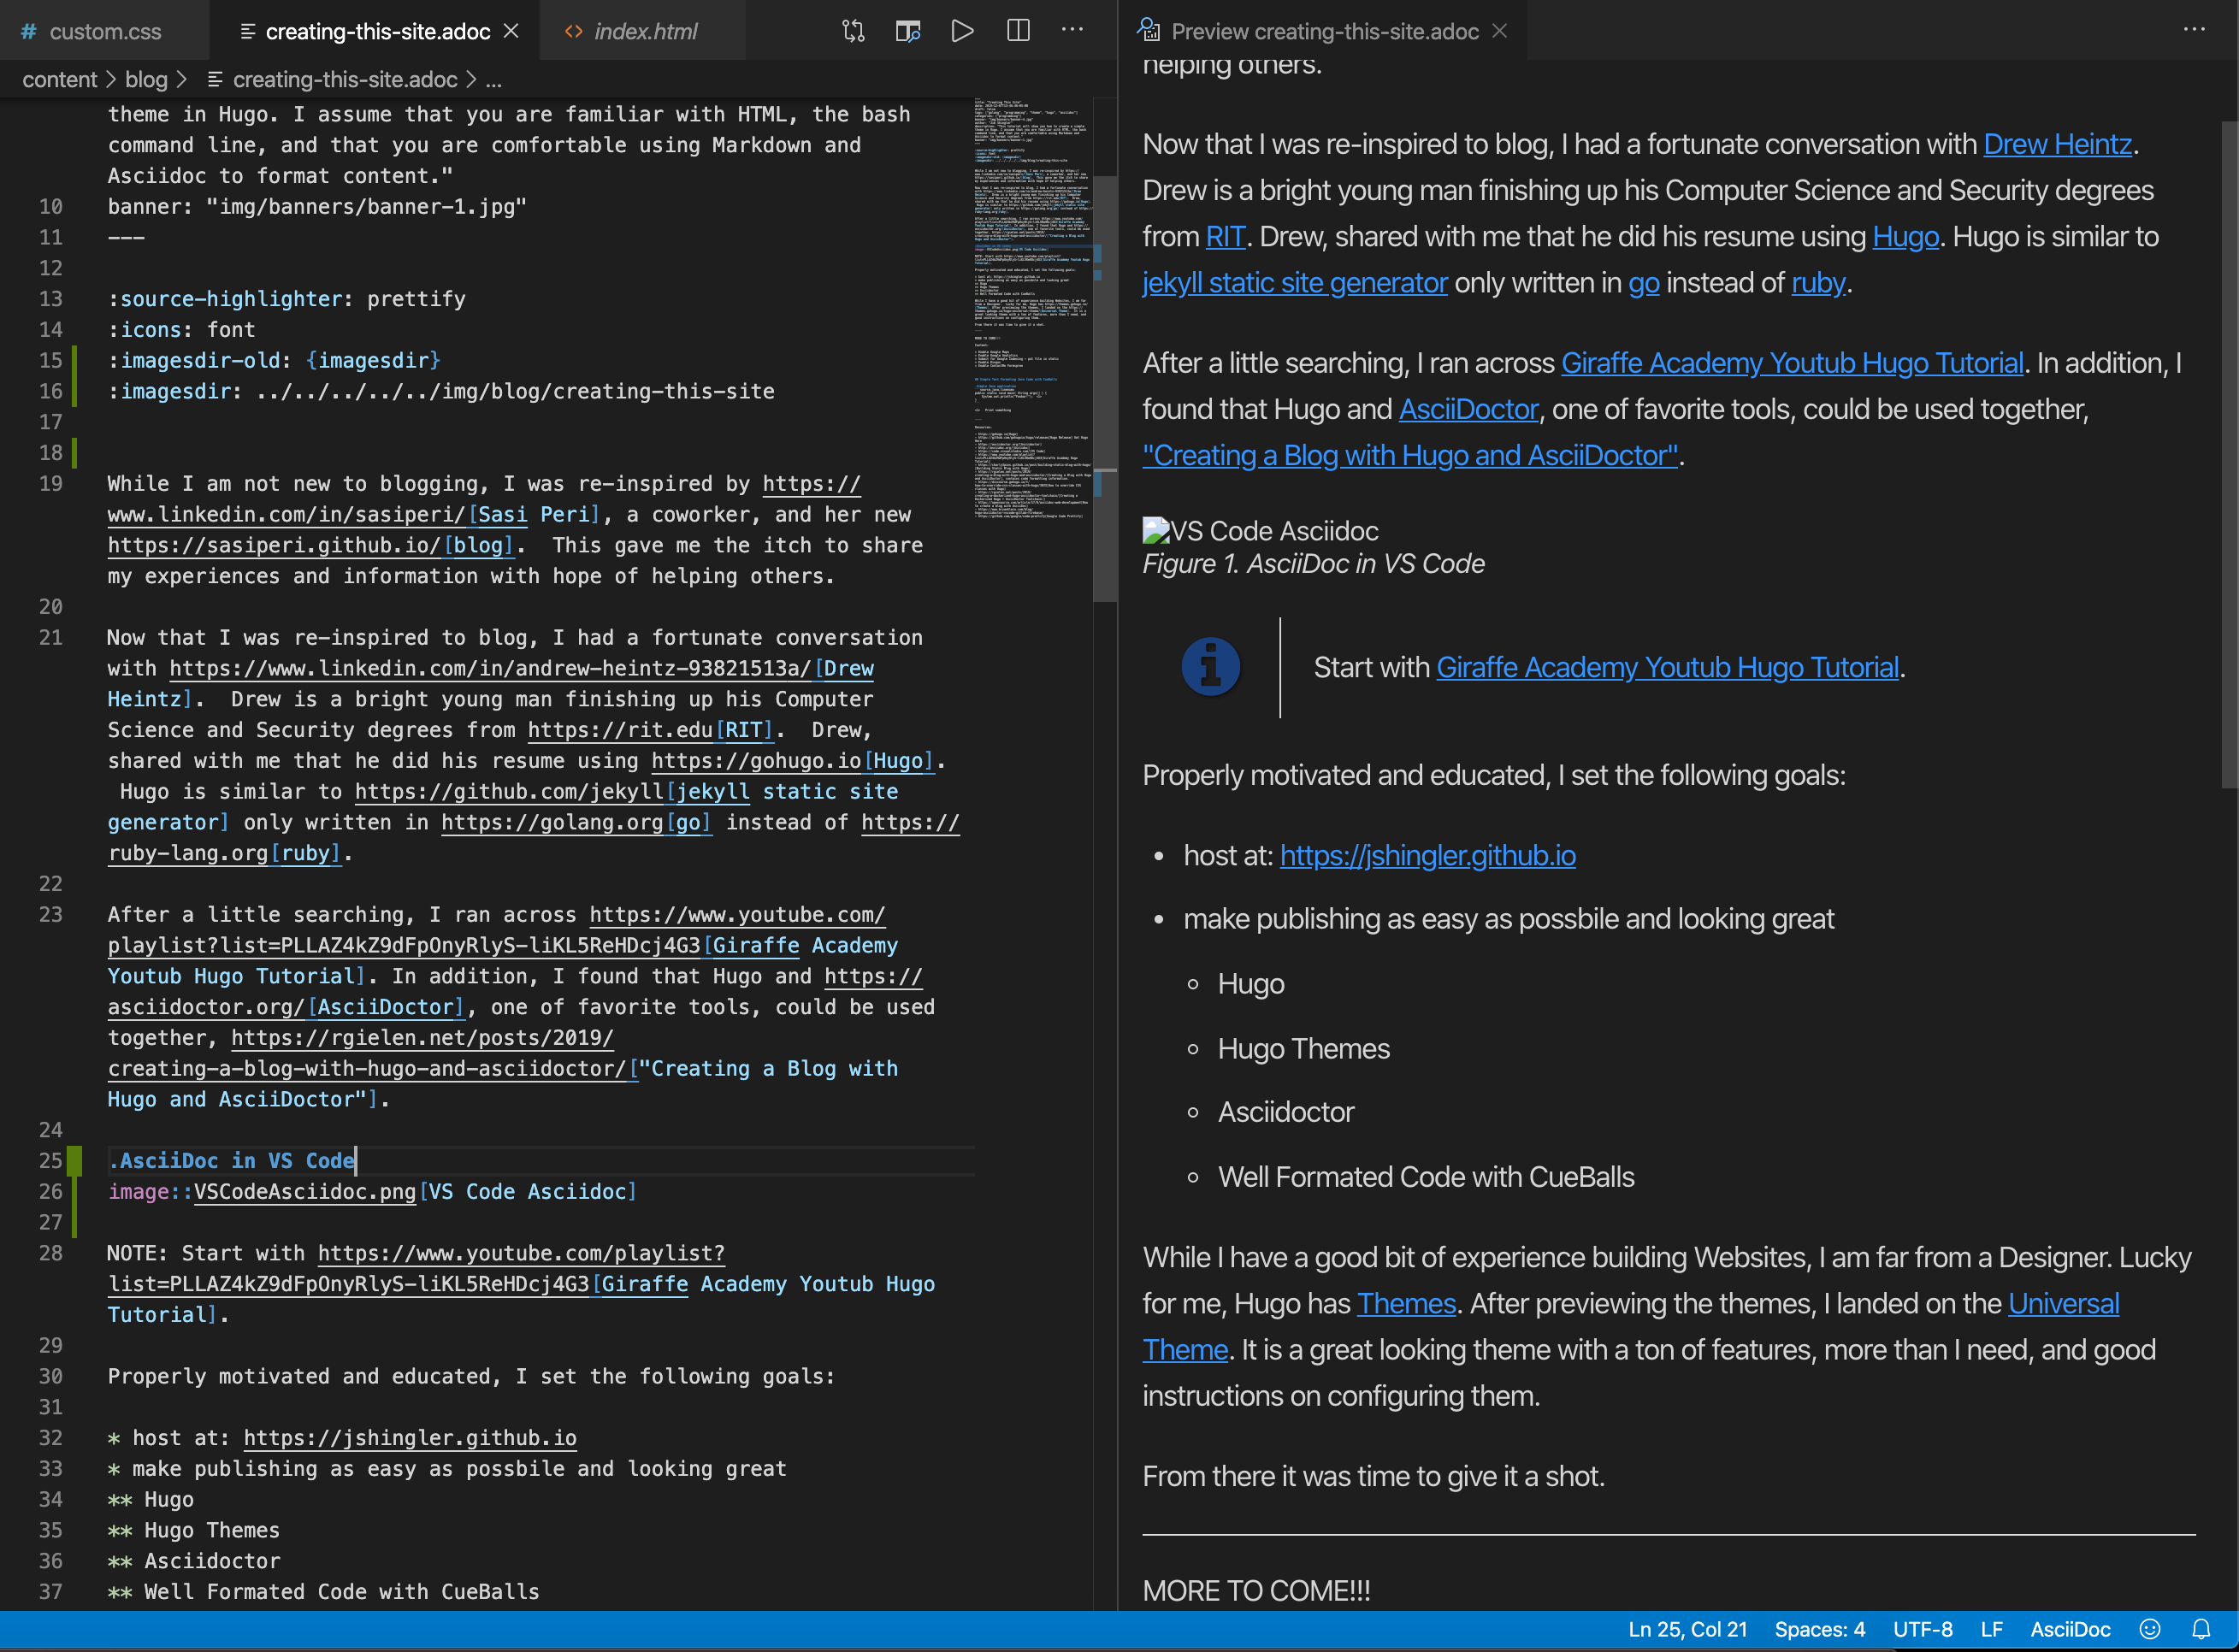
While I am not new to blogging, I was re-inspired by Sasi Peri, a coworker, and her new blog. This gave me the itch to share my experiences and information with hope of helping others..
Now that I was re-inspired to blog, I had a fortunate conversation with Drew Heintz. Drew is a bright young man finishing up his Computer Science and Security degrees from RIT. Drew, shared with me that he did his resume using Hugo. Hugo is similar to jekyll static site generator only written in go instead of ruby.
After a little searching, I ran across Giraffe Academy Youtub Hugo Tutorial. In addition, I found that Hugo and AsciiDoctor, one of favorite tools, could be used together, "Creating a Blog with Hugo and AsciiDoctor".

Properly motivated and educated, I set the following goals:
-
static site hosted at: https://jshingler.github.io (https://github.com/jshingler/jshingler.github.io)
-
Site Source stored at: https://github.com/jshingler/jshingler-blog
-
make publishing as easy as possbile and looking great
-
Hugo
-
Hugo Themes
-
Asciidoctor
-
Well Formated Code with CueBalls
-
While I have a good bit of experience building Websites, I am far from a Designer. Lucky for me, Hugo has Themes. After previewing the themes, I landed on the Universal Theme. It is a great looking theme with a ton of features, more than I need, and good instructions on configuring them.
From there it was time to give it a shot.
Install Tools
Install Go
Hugo uses go. Installation Instructions
Getting Started
Loads of Credit to Charly3pins and his posting Building a Static Blog with Hugo
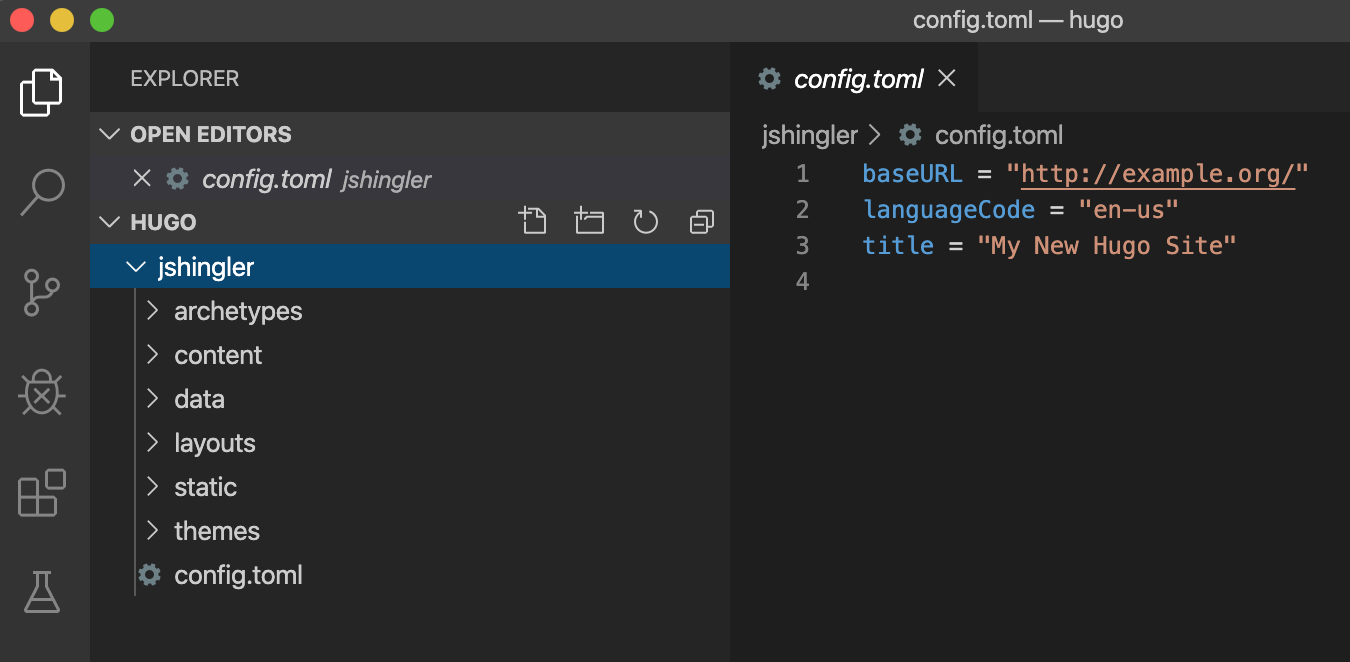
Create Empty Site
hugo new site jshingler

Congratulations! Your new Hugo site is created in /Users/jshingler/temp/hugo/jshingler.

Just a few more steps and you're ready to go:

1. Download a theme into the same-named folder.
   Choose a theme from https://themes.gohugo.io/ or
   create your own with the "hugo new theme <THEMENAME>" command.
2. Perhaps you want to add some content. You can add single files
   with "hugo new <SECTIONNAME>/<FILENAME>.<FORMAT>".
3. Start the built-in live server via "hugo server".

Visit https://gohugo.io/ for quickstart guide and full documentation.
results in:

Setup a Theme
cd jshingler
git init
I chose the Universal Theme from the Hugo Themes you choose what you like best.
git clone https://github.com/devcows/hugo-universal-theme.git themes/hugo-universal-theme| Don’t for get to push the source back to your git repository. For me that is: https://github.com/jshingler/jshingler-blog. |
| As Charly3pins points out in his blog, you can also set your theme up as a submodule. |
| If you haven’t already done it, … Do yourself a favor, watch the Giraffe Academy Youtub Hugo Tutorial |
Explore the theme, … A really good place to look is the example site. You can find it at: themes/hugo-universal-them/exampleSite
Tune the Theme
The universal theme is pretty robust, … It has a lot of features that I really don’t need for a Minimum Viable Product. The config.toml
Local Development
hugo server -DDash D, -D
Add Content
hugo new blog/creating-this-site.adocresults in:
---
title: "Create This Site"
date: 2019-12-15T17:12:43-05:00 (1)
draft: true (2)
---| 1 | date the document was created |
| 2 | it starts as a draft. |
The theme supports additional attributes.
---
title: "Creating This Site"
date: 2019-12-07T13:46:46-05:00
draft: false (1)
tags: ["golang", "programming", "theme", "hugo", "asciidoc"] (2)
categories: ["programming"] (3)
banner: "img/banners/banner-1.jpg" (4)
author: "Jim Shingler" (5)
description: "This tutorial will show you how I created this site. It will use Hugo, Asciidoc via AsciiDoctor, and Github" (6)
---| 1 | No Longer a draft |
| 2 | Tag the blog post with these tags |
| 3 | Put it in the programming category |
| 4 | Use this image on front page |
| 5 | I authored it |
| 6 | a little description |
Now you start writing your asciidoc as usual.
:source-highlighter: prettify   (1)
:icons: font                    (2)
:imagesdir-old: {imagesdir}     (3)
:imagesdir: ../../../../../img/blog/creating-this-site (4)

## *STATUS:* Work in process
I will continue to flush this out.

While I am not new to blogging, I was re-inspired by https://www.linkedin.com/in/sasiperi/[Sasi Peri], a coworker, and her new https://sasiperi.github.io/[blog]. This gave me the itch to share my experiences and information with hope of helping others.| 1 | use google code prettify to format code, more instructions to follow |
| 2 | icons for Admonitions (NOTE, TIP, IMPORTANT, CAUTION, WARNING) |
| 3 | save the current image directory, might need it later |
| 4 | where to find images for this post |
Tuning CSS
When you first combine the universal themes and asciidoc the results might be a little ugly. To overcome it, you need to tweek the CSS. To do this, you will need to copy the themes/hugo-universal-theme/layouts/partials/head.htmllayouts/partials/head.html
{{ range .Site.Params.custom_css -}}
    <link rel="stylesheet" href="{{ . | absURL }}">
{{- end }}
This code will iterate through an array of css files defined in the config.toml
[params]
    # Custom CSS
    custom_css = ["css/custom.css"]
Next, I copied the default Asciidocter style sheet and saved it as static/css/custom.css
Code Formatting
Okay, truth be told, getting code formatting working was a little harder than expected. There are a variety of reasons but here is how I got it working.
I looked at a variety of formatters.
-
coderay
-
prisim
-
highlights.js
I decided to use Google Code Prettify - Sons of Obsidian style.
The previous section showed the how to declare the syntax highlighter to use. There is one additionl step. The corresponding javascipt file need to be imported.
-
Copy
themes/hugo-universal-theme/layouts/partials/scripts.htmllayouts/partials/scripts.html -
Add the javascript declaration to the file
<script src="https://cdn.jsdelivr.net/gh/google/code-prettify@master/loader/run_prettify.js?skin=sons-of-obsidian"></script> Includes
By default, asciidoctor will turn included external urls into links instead of including them. This can be overcome on the command line as asciidoctor -a allow-uri-read myfile.adoc
| This can cause a security issue. You must really trust what you are including. My advice is that unless you control the file being included, don’t include it. |
#!/bin/bash
${HOME}/.rvm/gems/ruby-2.4.0/bin/asciidoctor -a allow-uri-read $*config.toml[params]
# Custom CSS
custom_css = ["css/custom.css"]
viewMorePostLink = "/blog/"
author = "Jim Shingler"
defaultKeywords = ["jshingler", "Jim Shingler", "James Shingler", "Shingler", "Schindler", "Lean", "Agile", "devOps", "java", "Spring", "Cloud Native", "Microservices", "hugo", "go"]
mainSections = ["blog"]
defaultDescription = "Jim Shingler Blog about interestes: Professional ( lean, agile, devOps, devSecOps ), Technical ( Java, Spring, Cloud Native, Microservices ), Personal Development ( ThinkScript ), Growth, and Learning"
#defaultDescription = "Site template made by devcows using hugo"
# Social media
facebook_site = "" # the Facebook handle of your site ('https://www.facebook.com/HANDLE')
twitter_site = "GoHugoIO" # the Twitter handle of your site (without the '@')
default_sharing_image = "img/sharing-default.png"
# Google Maps API key (if not set will default to not passing a key.)
googleMapsApiKey = "AIzaSyA1N45cD4qWwsgnuE1F39p1SYaM0w0ldQg"
# Style options: default (light-blue), blue, green, marsala, pink, red, turquoise, violet
style = "default"
# Since this template is static, the contact form uses www.formspree.io as a
# proxy. The form makes a POST request to their servers to send the actual
# email. Visitors can send up to a 1000 emails each month for free.
#
# What you need to do for the setup?
#
# - set your email address under 'email' below
# - upload the generated site to your server
# - send a dummy email yourself to confirm your account
# - click the confirm link in the email from www.formspree.io
# - you're done. Happy mailing!
#
# Enable the contact form by entering your Formspree.io email
email = "shinglerjim@gmail.com"
contact_form_ajax = false
about_us = "Always Be Learning."
copyright = "Copyright (c) 2015 - 2020, JShingler; all rights reserved."
# Format dates with Go's time formatting
date_format = "January 2, 2006"
#logo = "img/logo.png"
logo = "img/JShingler2.png"
#logo_small = "img/logo-small.png"
address = """<p><strong>Jim Shingler</strong>
<br>
<br>
<br>Columbus
<br>OH
<br>
<strong>USA</strong>
</p>
"""
latitude = "39.983334"
longitude = "-82.983330"
[Permalinks]
blog = "/blog/:year/:month/:day/:filename/"
# Enable or disable top bar with social icons
[params.topbar]
enable = true
#text = """<p class="hidden-sm hidden-xs">Contact us on +420 777 555 333 or hello@universal.com.</p>
text = """<p class="hidden-sm hidden-xs"></p>
<p class="hidden-md hidden-lg"><a href="#" data-animate-hover="pulse"><i class="fas fa-phone"></i></a>
<a href="#" data-animate-hover="pulse"><i class="fas fa-envelope"></i></a>
</p>
"""
# Enable and disable widgets for the right sidebar
[params.widgets]
categories = true
tags = true
search = true
[params.carousel]
enable = false
# All carousel items are defined in their own files. You can find example items
# at 'exampleSite/data/carousel'.
# For more informtion take a look at the README.
[params.features]
enable = false
# All features are defined in their own files. You can find example items
# at 'exampleSite/data/features'.
# For more informtion take a look at the README.
[params.testimonials]
enable = false
# All testimonials are defined in their own files. You can find example items
# at 'exampleSite/data/testimonials'.
# For more informtion take a look at the README.
title = "Testimonials"
subtitle = "We have worked with many clients and we always like to hear they come out from the cooperation happy and satisfied. Have a look what our clients said about us."
[params.see_more]
enable = false
icon = "far fa-file-alt"
title = "Do you want to see more?"
subtitle = "We have prepared for you more than 40 different HTML pages, including 5 variations of homepage."
link_url = "#"
link_text = "Check other homepages"
[params.clients]
enable = false
# All clients are defined in their own files. You can find example items
# at 'exampleSite/data/clients'.
# For more informtion take a look at the README.
title = "Our Clients"
subtitle = ""
[params.recent_posts]
enable = true
title = "Jim Shingler blog"
subtitle = "Thoughts on: Technical, Professional, and Personal Development"
[security]
enableInlineShortcodes = false
[security.exec]
allow = ['^dart-sass-embedded$', '^go$', '^npx$', '^postcss$', '^asciidoctor$']
osEnv = ['(?i)^((HTTPS?|NO)_PROXY|PATH(EXT)?|APPDATA|TE?MP|TERM|GO\w+)$']
[security.funcs]
getenv = ['^HUGO_', '^CI$']
[security.http]
methods = ['(?i)GET|POST']
urls = ['.*']Publish to Github
Some really good instructions from the Hugo docs on Publishing to Github.io and more information on the github help pages
| Github pages have usage limits, I might have to figure out a different hosting option. |
I choose to use a user page https://jshingler.github.io. Make sure you have created <USERNAME>.github.io
Finally you need to add the <USERNAME>.github.io repo inside the public folder as a git submodule in order to update your website once you regenerate the site.
git submodule add -b master https://github.com/jshingler/jshingler.github.io.git publicNow publish the website. Here is a slightly modified script from Charly3Pin’s blog to publish the site.
#!/bin/bash
set -x

echo -e "\033[0;32mDeploying updates to GitHub...\033[0m"

# Remove old Stuff  (1)
cd public
rm -fr *
cd ..

# Build the project.
hugo # if using a theme, replace with `hugo -t <YOURTHEME>`

# Go To Public folder
cd public

# Add changes to git.
git add .

# Commit changes.
msg="rebuilding site `date`"
if [ $# -eq 1 ]
  then msg="$1"
fi
git commit -m "$msg"

# Push source and build repos.
git push origin master

# Come Back up to the Project Root
cd ..| 1 | If you delete something from the site, if you really want it to be delete, you need to clean out the |
Additional Steps
That is pretty well it. I now have a functional blog published to github.io. I won’t go into the details, here are some additional steps I performed, most of which where in the config.toml
-
Enable Google Maps
-
Enable Google Analytics
-
Submit for Google Indexing
-
Enable Disqus
-
Enable ContactMe Formspree
What’s Next
René at his blog has a pretty good article about Creating a Dockerized Hugo + AsciiDoctor Toolchain. Next, I am thinking about using this with GitHub worksflows and actions to that when I push a change to the master branch of my repository, the website is automatically rebuilt and published.
Resources / Credits:
-
Hugo Release Get Hugo Here
-
Creating a Blog with Hugo and AsciiDoctor, contains code formatting information.
-
https://www.bryanklein.com/blog/hugo-asciidoctor-vscode-gitlab-firebase/
